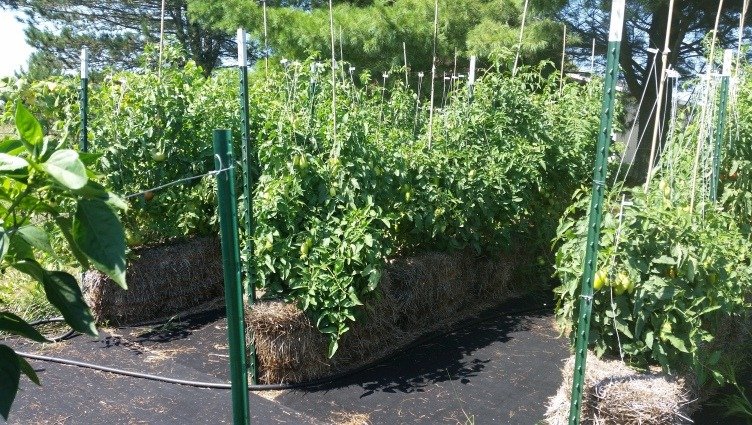
Tips For Growing Tomatoes In Straw Bales
 Looking for tips for growing tomatoes in straw bales? This article can help. There are many above-ground methods for growing tomatoes that have a variety of benefits, depending on the climate and the amount of space you have for growing tomatoes. Using the straw bale method is a great option. If you have never been exposed to a straw bale, it is basically straw that has been packed, usually in a rectangular shape and held together with string. It has been successfully been used my gardeners, for many years. If you are curious and wanting to try this growing method, be careful not to confuse it with a hay bail. Hay includes seeds and other pieces of roughage that have been picked up. It is much more challenging to grow in a hay bail so be sure to use a straw bale. So here are some tips for growing tomatoes in straw bales.
Benefits of Straw Bale Gardening
The straw bale method is useful for several reasons:
-
- it’s very cheap, cheaper than a bag of good quality soil. You can buy it from garden stores, home improvement stores or feed stores in your area.
- It’s mobile, so you can orient it each year wherever you like in your space. It can rest atop a back patio or back porch without the need for a wooden built-in container.
-
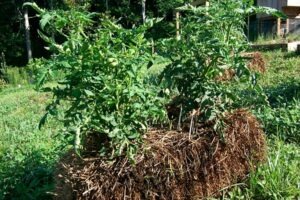
- Straw bales are of a good height, so the base of the exposed tomato plant is higher up and easier to access for those who may have back pain or trouble bending over.
- At the end of the season the entire straw bale composts and will be ready to feed your garden next season, leaving no footprint behind.
Conditioning Your Straw Bale Before Planting
 If you already have straw bales that have been sitting outside for a while and exposed to the elements, you might be able to skip this step. An unconditioned straw bale is dry and new. When it is placed outside in varying conditions of rain and humidity, it goes through a process of taking in water. It begins to become very heated and dark on the inside as it decomposes. Planting in an unconditioned bale can ruin the plant.
Here is how you properly condition the straw bale for planting (10 – 14 days):
-
-
- Place newspaper, cardboard or a wooden structure underneath where you plan on conditioning the bale. It is easier to place it where you will keep the bale all growing season, as the conditioned bale will be heavy with water and more difficult to maneuver.
- Do not lay the bale on the wider side with the string facing upwards. It is tempting to do so in order to gain more planting space, but you might nick the string in the planting process and cause the bale to fall apart.
- Lay the bale with the folded straw narrow side facing down. Both of the narrow sides are different. There is a folded straw side and a rough cut straw side. It will be apparent which is which, as the cut straw ends will be poking straight out instead of folding along the surface. You place the bale with the folded straw side facing down so that you can drench the hollow cut straw for better disbursement and conditioning.
- First three days: drench the bale. Make sure it stays damp.
- The next six days: add nitrogen for decomposition. You can use a liquid fertilizer. Just a capful in a watering can, once a day for 6 days.
- The tenth day: just water it again until it is fully decomposed. You bail may take a little longer to decompose depending on the weather and it’s location. Try placing it where there is the most sunlight.
-
How to check if your straw bale is ready for planting

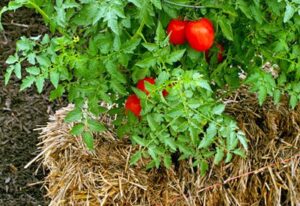
Healthy Tomatoes In Straw Bale
For the first few days of conditioning, the temperature inside the straw bale rises to anywhere from 100 -125 degrees. This happens as it begins taking in moisture and decomposing. When it the temperature of the straw bale comes down to equal the air temperature, your bale is ready for planting. You can check this with a meat thermometer. A compost thermometer can also be used. It’s also easy to detect with your hands. Slip your fingers into the straw bale. When it feels about as cool as the surrounding air, it is ready. Hope our tips for growing tomatoes in straw bales will help you grow a healthier garden. Thanks!


